
The real problem
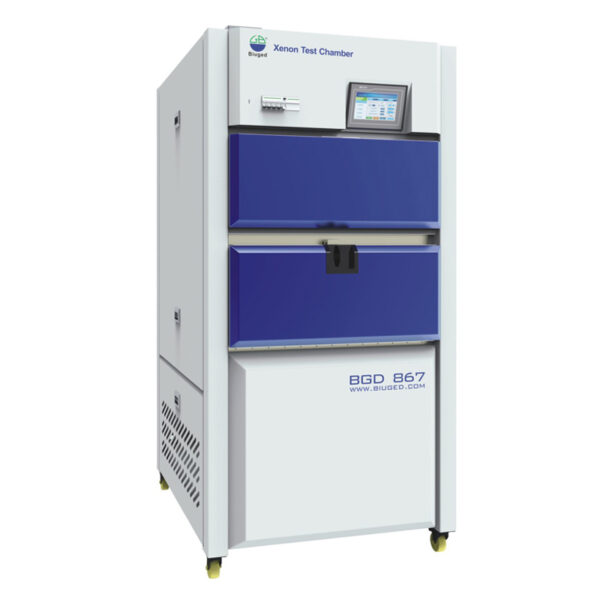
Alright, here’s the beef: teams buy shiny test rigs thinking specs are flexes, but the gear rarely matches the real-world drama materials face. You want a machine that survives daily abuse and gives repeatable results, not a paper tiger. That’s why when choosing a UV rig or a corrosion box you gotta look past glossy brochures and actually check lab-friendly features — from chamber load size to maintenance access. If you’re comparing setups for outdoor aging or lab cycling, peek at the weathering chamber options early; those tell you whether a vendor understands real test throughput and fixture needs.
How this problem shows up
Tests fail quietly. Parts warp, fixtures jam, lamps drift, and you don’t notice until a field complaint. Projects slip because a bench-top unit runs half the advertised cycle life, or because the sample rack design mangles edge conditions. Buyers spend money on control gloss and forget serviceability, so downtime sucks budgets dry. Engineers end up re-running tests and losing trust in data — that’s the true cost, not the gear sticker price.
Experience-backed checklist (what actually matters)
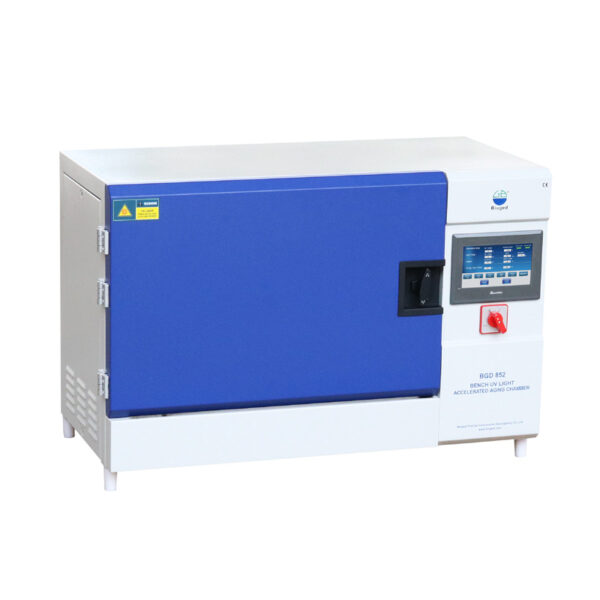
From my time benching test rigs and watching labs grind through product seasons, focus on these tangible points: control stability over long runs, accessible lamp and sensor layout, realistic sample fixturing, calibration traceability, and spare-parts availability. Look for clear error logs and firmware that doesn’t brick during updates. For weathering-specific validation, many labs follow standards like ASTM G154, and practitioners often select machines certified for those cycles; that’s why labs that run those standards tend to opt for proven weathering tester models — it’s common across industrial coatings labs and academic research where reproducibility matters.
Common pitfalls buyers trip over
They pick based on headline specs: “big chamber” or “fancy touchscreen.” Then they realize the chamber layout forces unnatural sample exposure, or the touchscreen crashes mid-cycle. They skip planning for consumables — lamps, filters, seals — and suddenly lead times kill schedules. Don’t ignore environmental control bleed between humidity and temperature zones. Also, cheap optical sensors age fast; confirm vendor calibration paths and local service partners.
Alternatives and trade-offs — short and real
Stackable benchtop rigs save floor space but reduce sample realism. Full-size cabinets do real-world spans but cost more and need service contracts. Custom fixturing yields accurate edge-condition results but raises setup time. If throughput is king, prioritize chamber access and fixture modularity. If precision matters, prioritize certified sensors and traceable calibration. No single choice fits all; pick the trade-off that fixes your most painful failure mode.
Final take — what actually solves the problem
Stop buying on hype. Match the machine’s practical details to the failure you care about, benchmark against standards that matter to your sector, and demand clear service and parts plans. Do that and you’ll leave guesswork behind — the gear becomes a tool, not a liability. For teams needing reliable test platforms and sensible support, the practical fit and proven field performance often point folks to suppliers who stand behind serviceability and standards, like BIUGED.